01Print
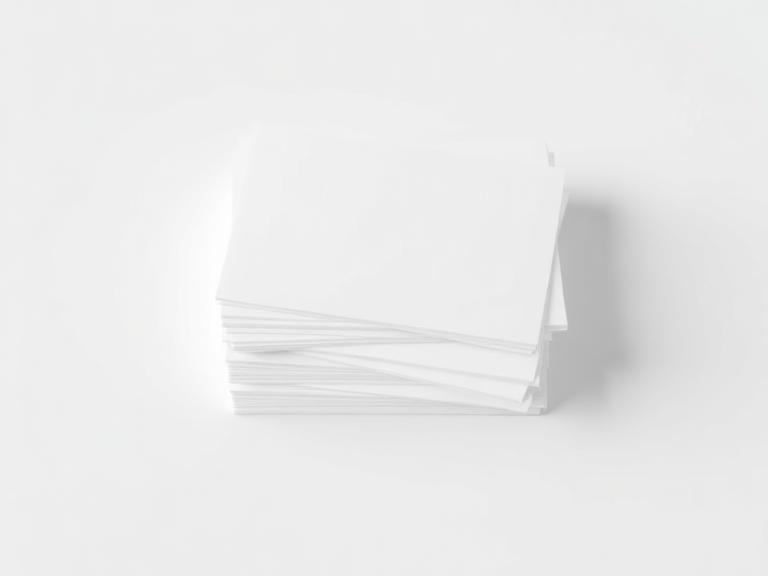
Printing Paper
Print your Mosaic Studio design on this paper first.
This paper is not sticky — the clear adhesive goes on after printing.
Supplies
Everything you need to turn your Mosaic Studio design into diamond art.
Print your Mosaic Studio design on this paper first.
This paper is not sticky — the clear adhesive goes on after printing.

Apply this over your printed design to create the sticky surface that holds the drills.
Peel one side, smooth it over the print, then peel the top as you work.
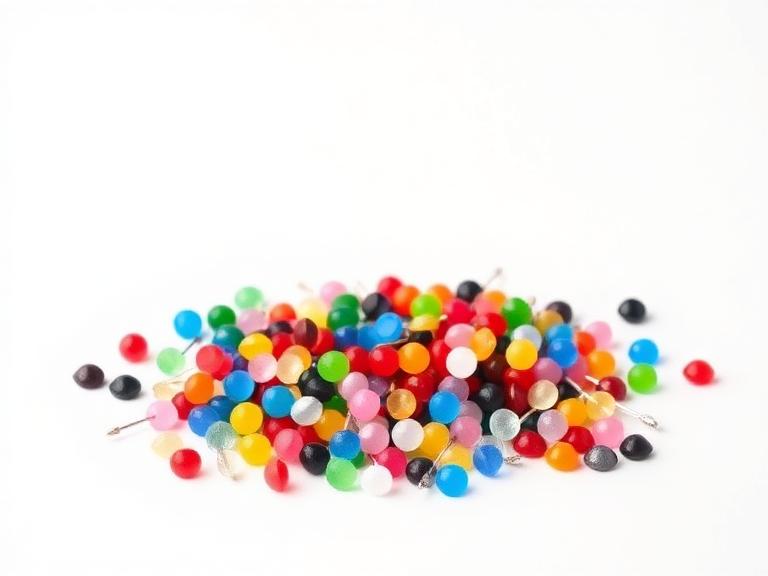
The colorful resin drills that make your Mosaic Studio design sparkle.
Standard 2.5 mm round drills — the size Mosaic Studio uses for its finished-size estimates. A large assorted-color set covers custom artwork best.
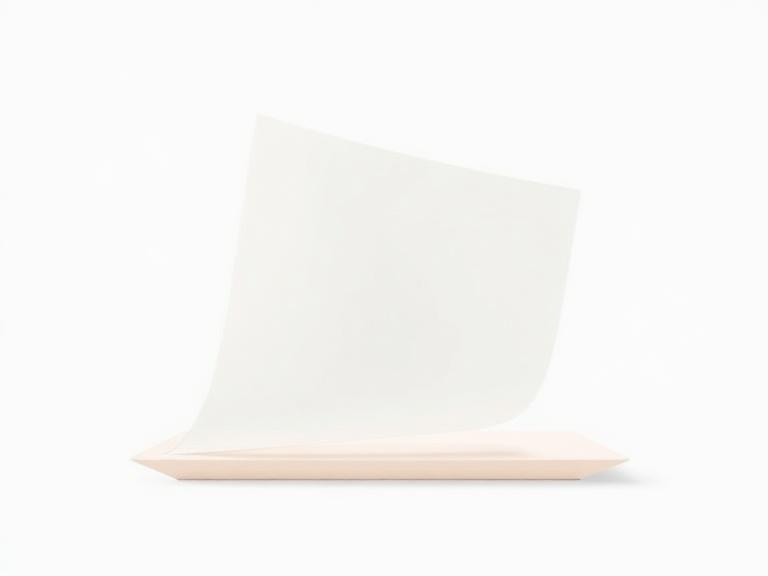
Place over unused adhesive to protect it while you work section by section.
It replaces the original plastic protective sheet and can be lifted and repositioned as the project progresses.
The printing paper is plain paper — it is not adhesive. The stickiness comes from the clear double-sided sheets you apply on top of the printed design.
As an Amazon Associate, Mosaic Studio earns from qualifying purchases.